menu
fiddle leaf photography
The Final Image – Garage Light
Jun 10, 2016
Today’s post is one for photographers who are comfortable shooting in manual mode.
One of my biggest ‘AHA’ moments when I was first starting in photography was how to manipulate light to make the shadows work to my advantage. I now manipulate shadows as a framing technique, to add mood, to add visual interest and to hide unwanted objects. One of my favourite ways to play around with shadows is using garage light. If you don’t have a garage, don’t worry; the same technique can be used with a shed or a building that has a large door (and realistically, can even be used with a smaller door as well, it will just mean limited options for you). Whenever I’m hoping to get a portrait of one of my girls (which isn’t often, but sometimes I do still crave a classic portrait to document age milestones), I ask them if they’ll give me 5 minutes in the garage. The weather outside isn’t important. It can be cloudy or sunny and you’ll still be able to achieve the same results.
After an impromptu garage session last weekend with my girls, below is one of my favourite images (soother and all!).
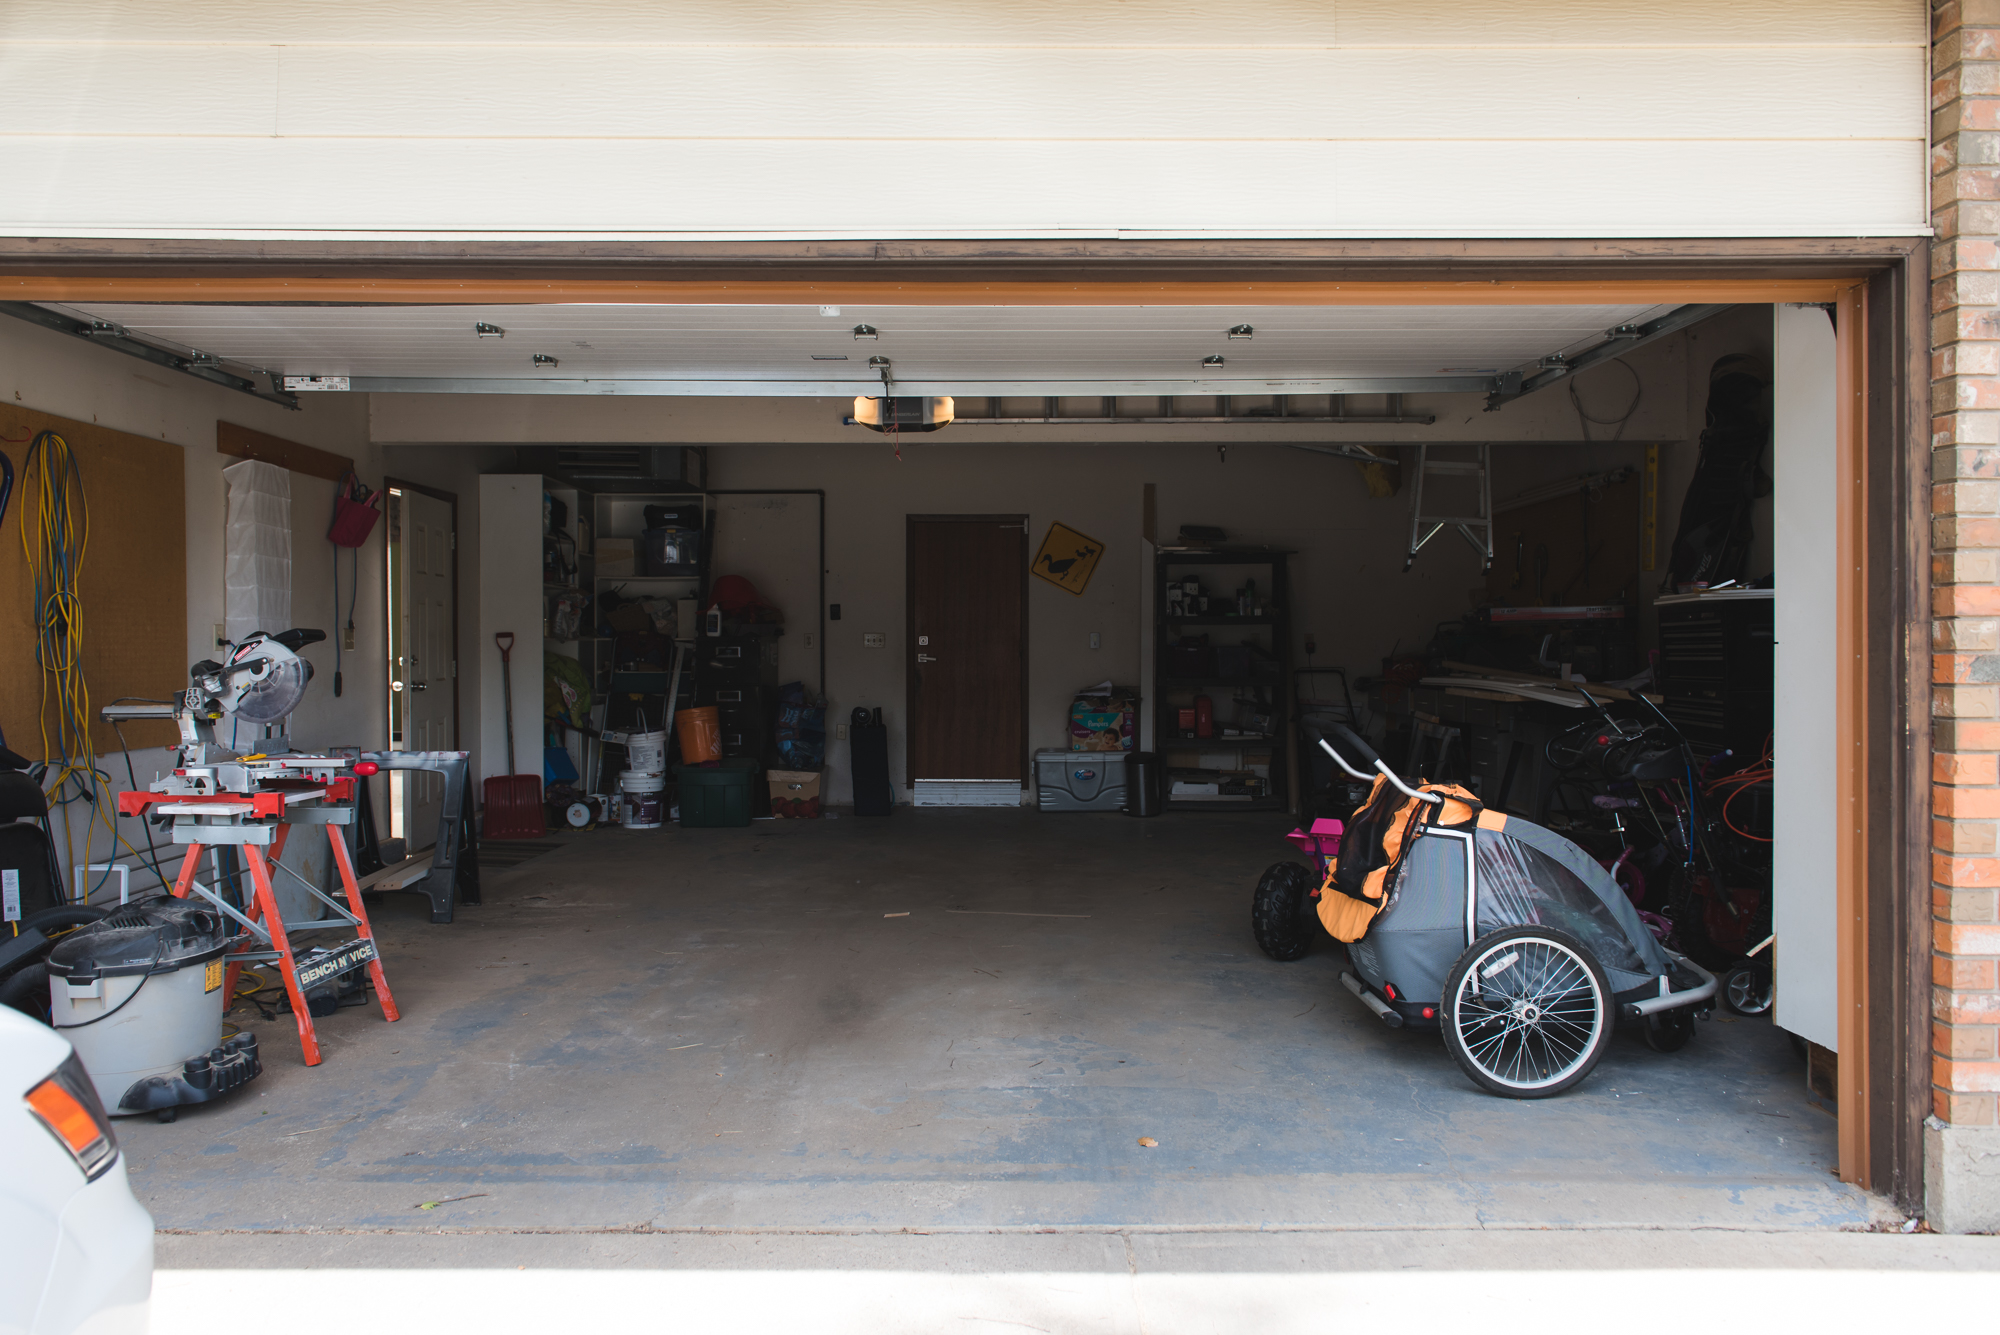
And here’s a pull back of the garage where I took the image. No backdrop, no lighting – nothing fancy at all. Just my camera and my daughter followed by some post processing in Lightroom.
Since I wanted to show you my full thought process including outtakes, I recorded a video of my screen.
In the video you’ll see the images that led me to this image plus the editing from start to finish of the final image.
(On a side note, I think we could probably develop a drinking game based on how many times I say SUPER. Next time I record my screen I’ll keep a sticky note nearby with a list of synonyms! Also, there is a small glitch around the 10 minute mark – it’s not your ears, I had to clip out a text that came in mid-recording!)
If you have any questions please ask in the comments below and I’ll do my best to answer. If there’s any specific tutorials you’d like in the future please leave a comment with those as well and I’ll queue up a few more tutorials.
POSTED IN:
Leave a Reply Cancel reply
HOME
ABOUT
the photos
INFORMATION
FOLLOW ON INSTAGRAM
@fiddleleafphoto
CONNECT
Lifestyle family & newborn photographer based in Edmonton, Alberta
kelly@fiddle-leaf.com
780-709-4204
BLOG
school photos
mentoring
CONTACT
JOIN THE NEWSLETTER
NEWSLETTER


Wow Kelly, amazing! I just watched the whole thing and will pin it for future too! Thanks so much for sharing! I loved how you talked through your settings and lens too, very helpful. I’ve been trying to shoot with is0 100 or as close to as possible, because every tutorial I’ve watched says 100 is the crisp iso, you must shoot with it. I call bull crap now!!! 😉 Thanks again!
Oh yes, total bull crap! The only way you could shoot ISO 100 all the time is if you shot outside in the sun all the time or with a tripod. When i do client sessions I’m routinely over ISO 4000. The other day I was cranked right up to 8000. As long as you expose correctly and make the shadows work for you it’s totally doable. (Also, gear can make a huge difference with ISO capabilities).