menu
fiddle leaf photography
Getting To The Final Image
Mar 20, 2016
The thing about photography is that it’s only a glimpse into a fraction of a second of someone’s life.
That tiny slice of time has the ability to tell an amazing story all on it’s own, full of details, emotion and narrative. But, behind every image there is an artist. An artist with a method of work and a thought process. Some artists painstakingly plan, some fly by the seat of their pants, others fall somewhere in between. I’m an in-betweener. I generally have an idea of what I’d like to capture and where I’m going to start, but the actual steps of getting from idea to final image are often thought out on the fly with a camera in my hand. That’s not to say, though, that there isn’t intention behind what I do, as I don’t just shoot and hope. So, I thought it might be fun to walk you through my shooting process from initial concept to final image. I’m going to be brave and show you all of my missteps (yikes!) right through to how and why I edit an image the way I do.
Here we go!
This image was taken as part of the O’Clock Project. One picture every day during the 4:00 pm hour for the month of March. On this particular day the sun was shinning and it was warm for early March. I was shooting with my Fuji X100t, which is a small mirrorless camera with a fixed 23 mm lens.
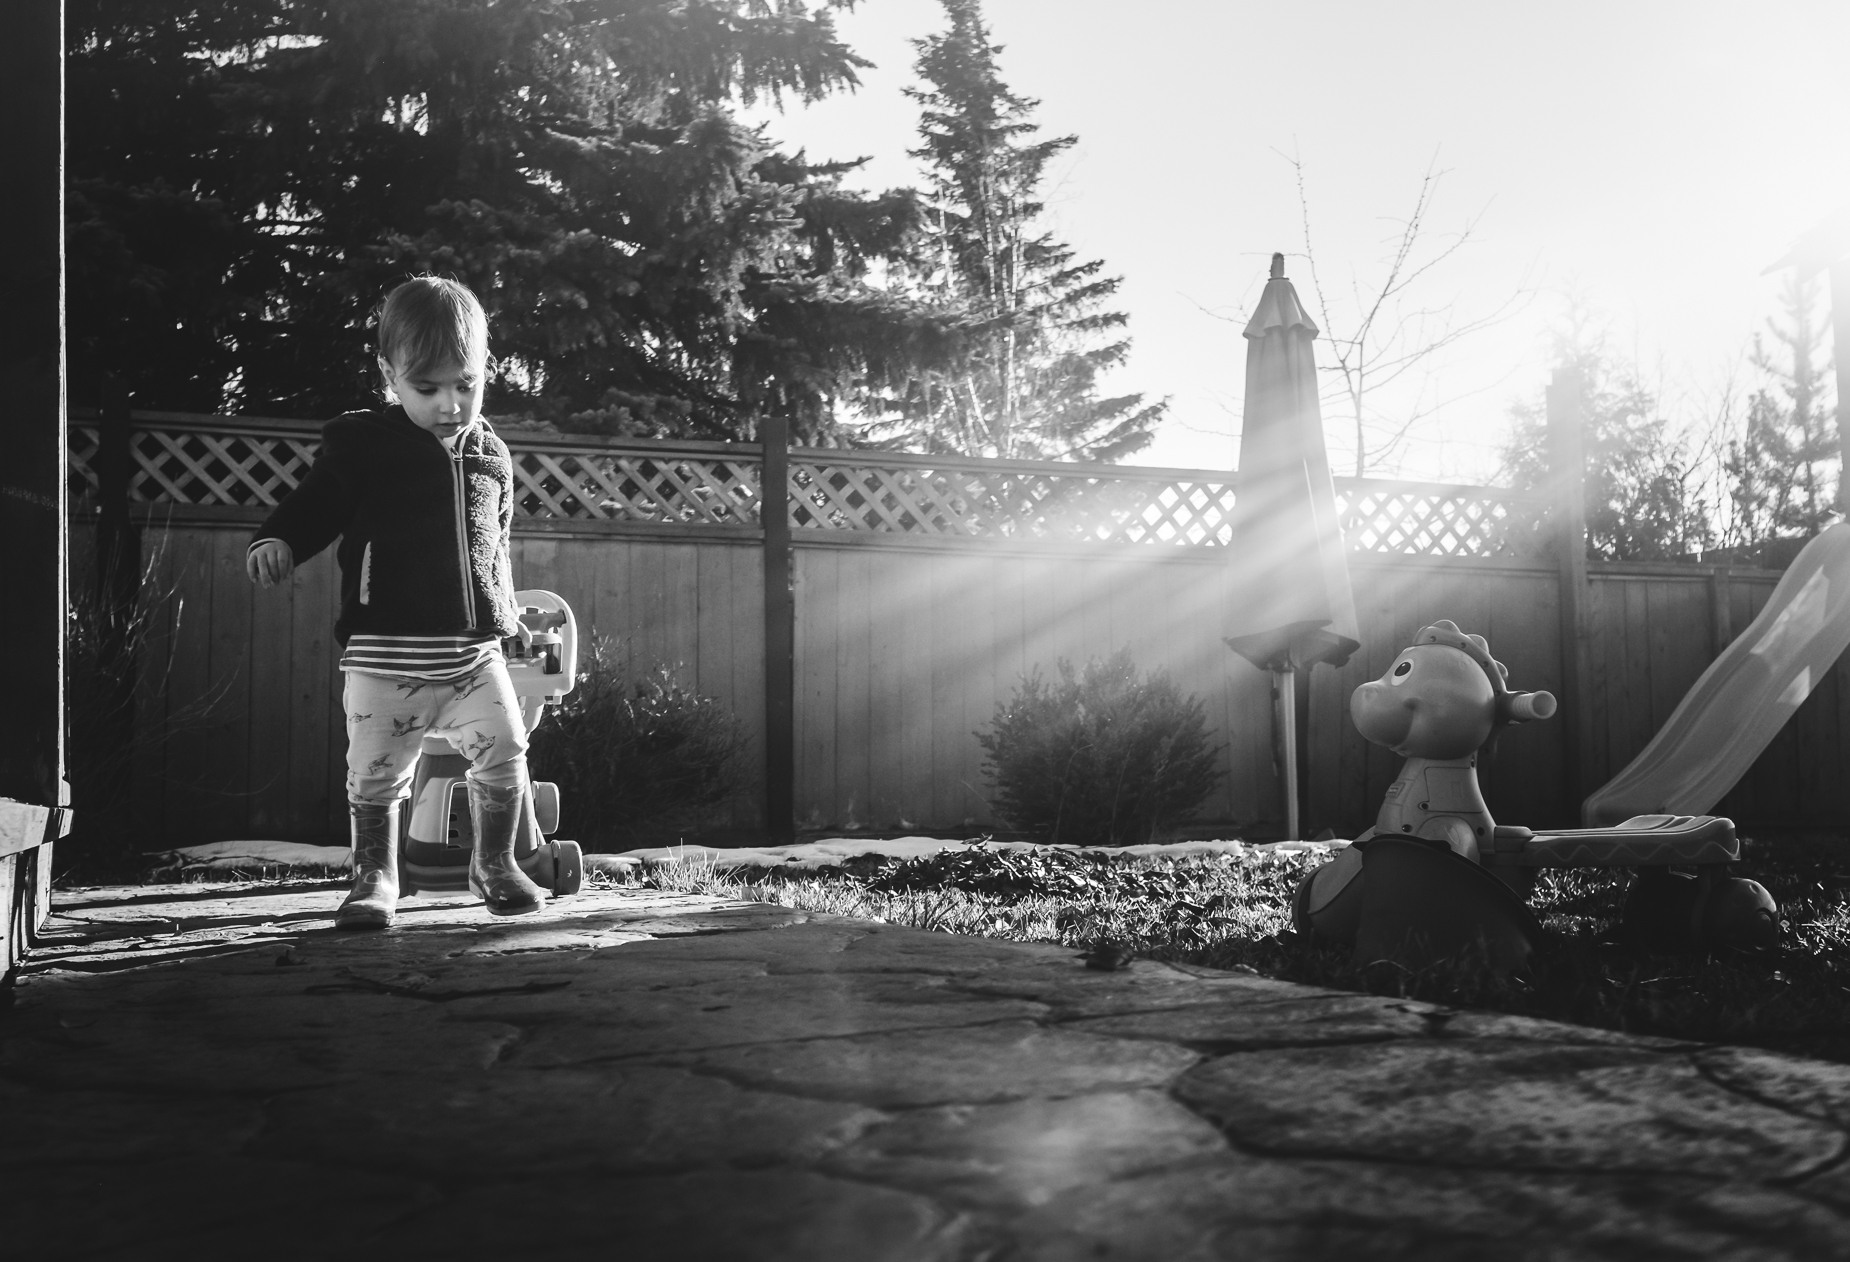
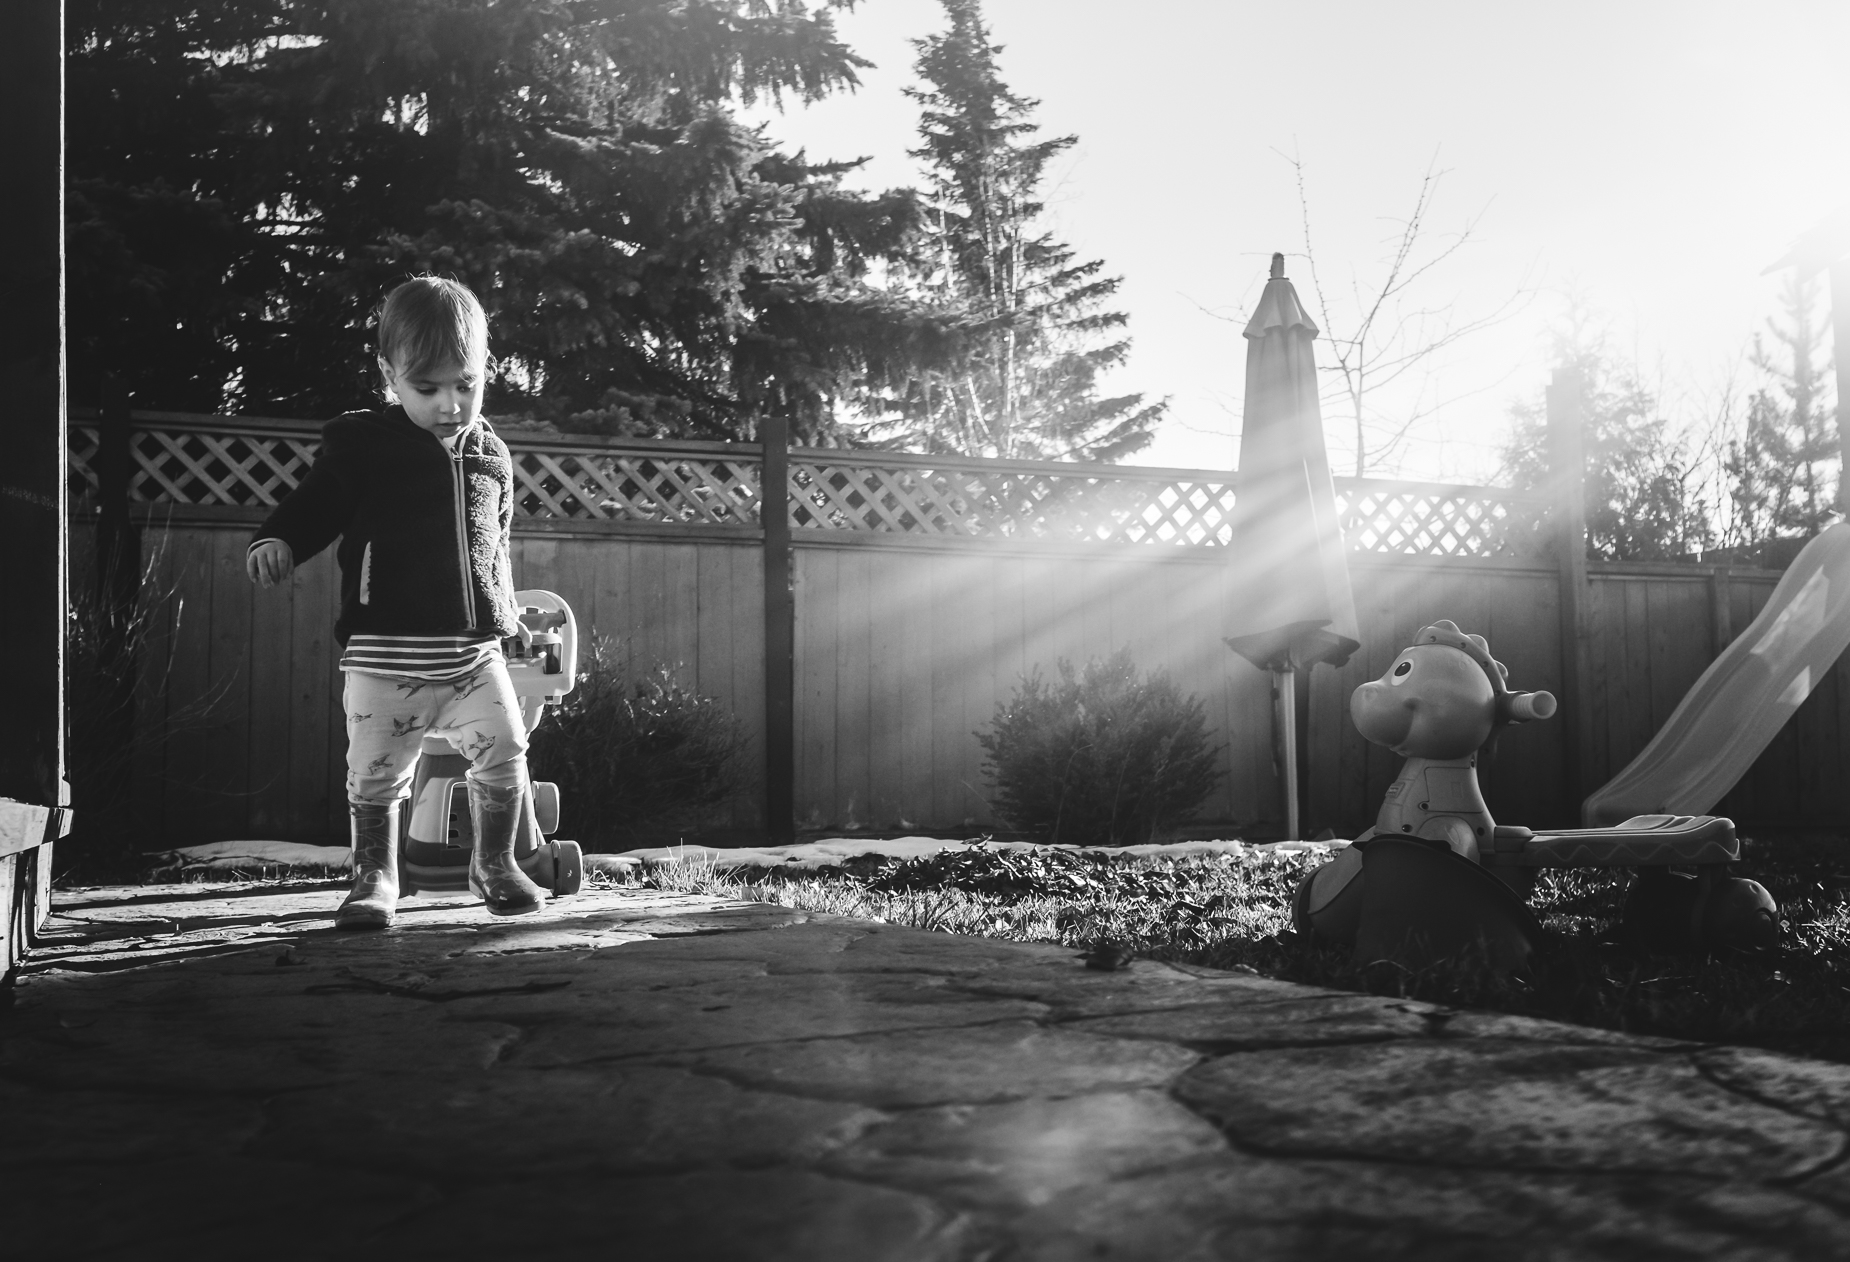
The final image.
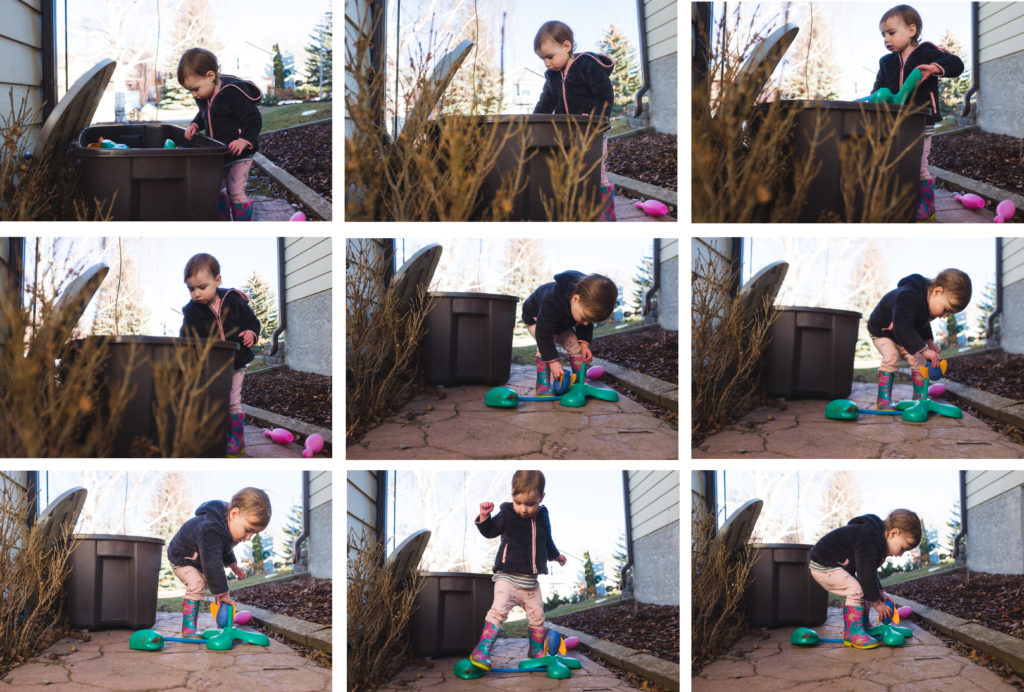
When I first grabbed my camera, she was rummaging through the toy bin at the side of the house.
I was trying to find an angle that gave a bit more depth and interest to the image, but wasn’t getting anything stellar. To the left of me was a window-well, so I didn’t have the opportunity to lean against the wall as I would have liked. The blown out background and electrical cord hanging down from the roof (left over from Christmas lights!) was bothering me. Within 4 minutes or so she was bored of those toys anyhow, so we moved to our back field.
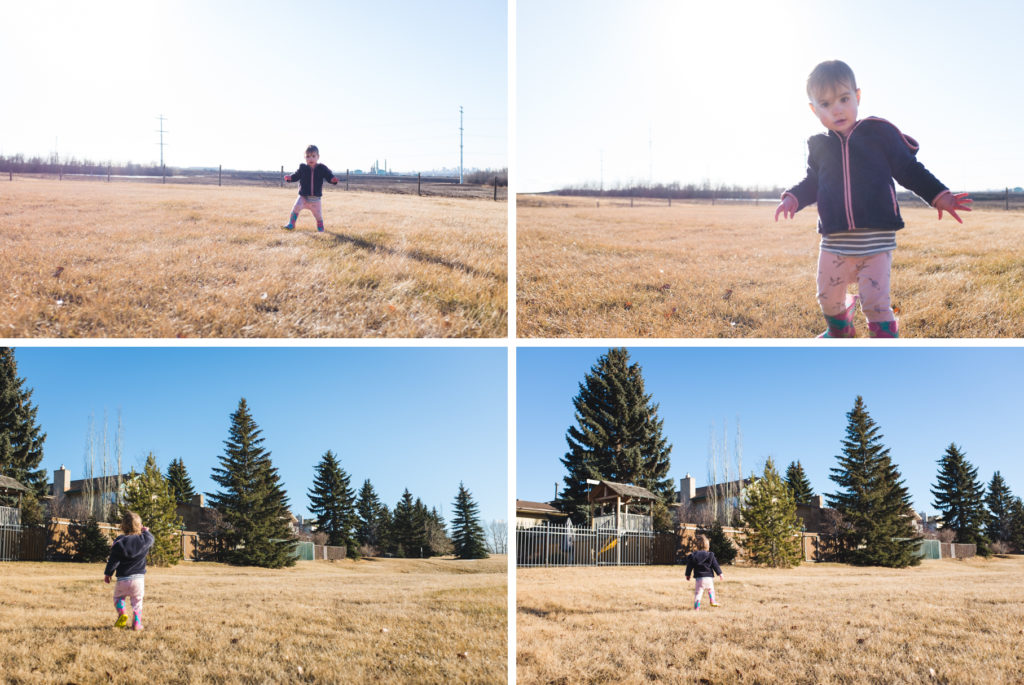
The ground was still really wet and she was learning to walk in her rain boots, so I didn’t have a lot of time to shoot in between trying to keep her upright and dry. She also wants to look at the back of my camera all the time, so when she sees me crouched down taking a shot she runs towards me as fast as her boots can take her. After a few over exposed shots and missed focus I was done shooting in the field. Not feeling it at all.
On to something new….the playhouse in the backyard.
Again, I couldn’t quite find an angle I liked, but then I leaned against the fence to my left and started to see the potential with the sun coming through the lattice work. But, the shadows were really deep and I couldn’t get their faces in enough light and it all felt very blah. It didn’t matter though, as after 2 minutes she was done with that part of the yard. Moving on!
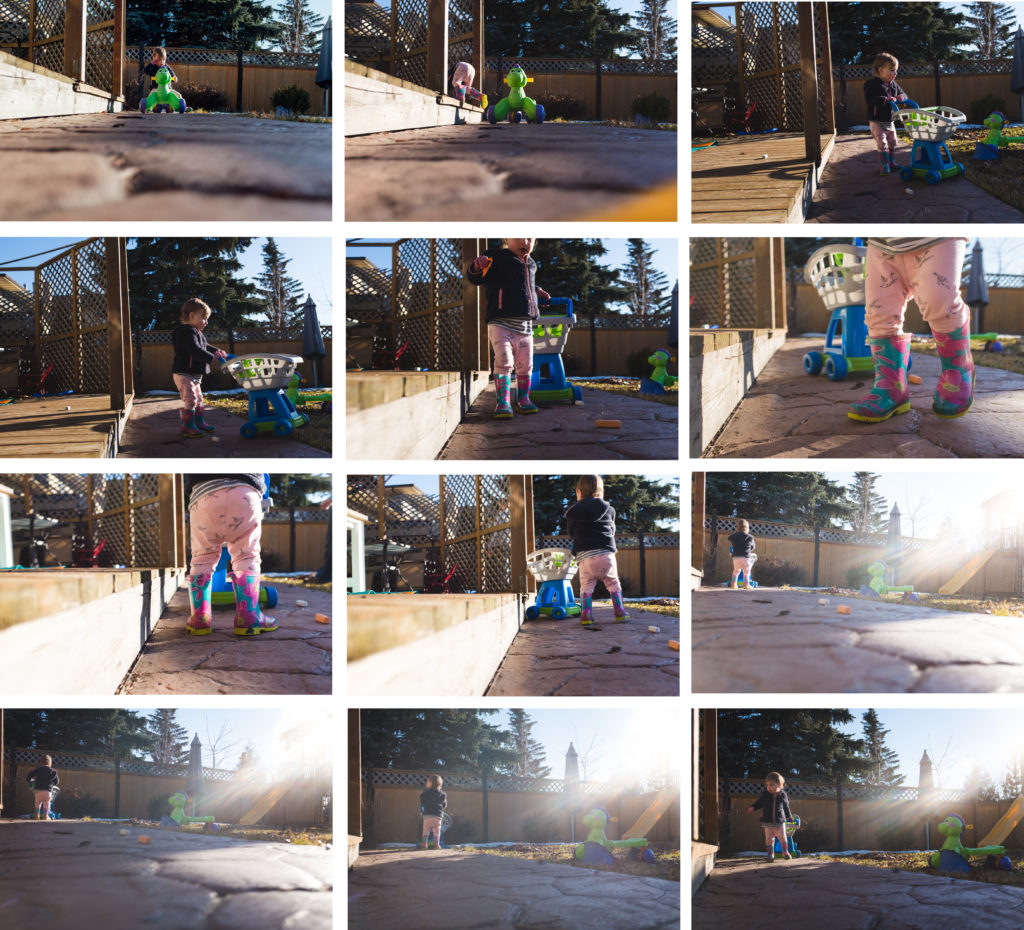
I was laying down on the sidewalk as she walked back and forth with the dino and the shopping cart. About half way through this set I was about to give up and wait to grab my picture until we moved inside. The light was harsh and my fingers were getting cold, but I decided to lay there as she walked towards me one more time. Without moving where I was laying at all, I moved my camera slightly so the sun was partially blocked by the play house to the right. Then I saw the defined light rays coming from the right. Ah! This was it. This could work! I waited for her to walk forward a few steps to come into the light.
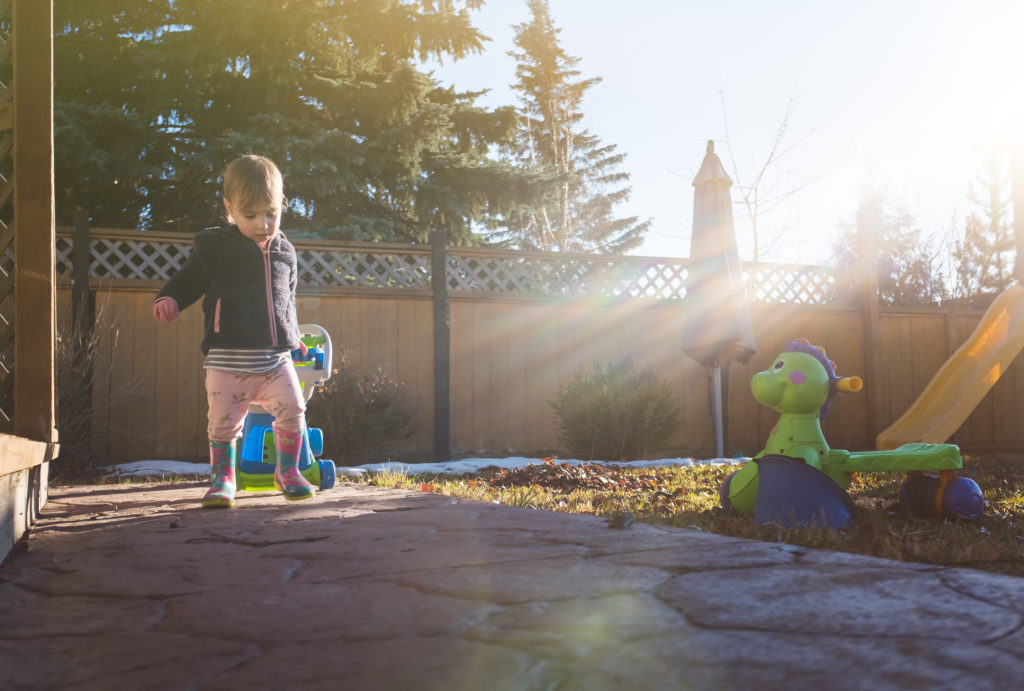
The straight out of camera image.
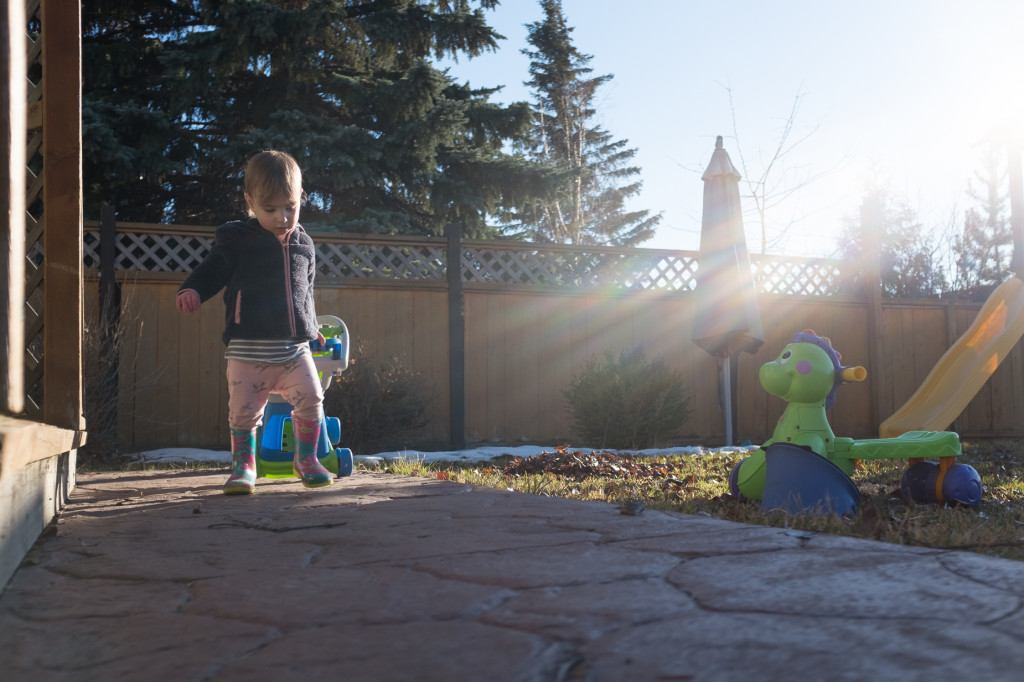
This was a keeper. I did a basic colour edit on it, straightened everything up and lightened up her face a bit.
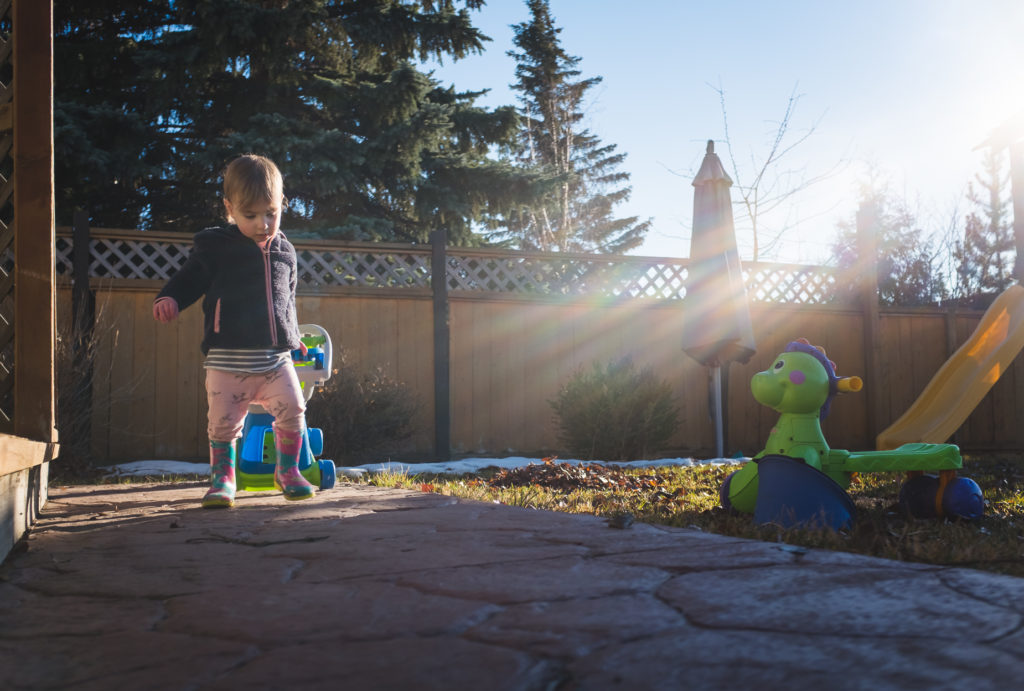 I then felt like it needed a bit more depth and I wanted to play on that sun more. I pulled it from Lightroom into Photoshop and applied a lens flare overlay.
The overlay gave that extra bit of flare on the bottom I was looking for, plus it lightened up the left side. I liked it, but wasn’t in love that green dino sitting there as the bright green was distracting me from the action going on in the left of the frame. There was enough contrast in the image that I decided to go with black and white. I applied my standard black and white preset (which I made myself) and pulled the highlights down slightly.
This worked for me. She was still in the light and the dino was no longer distracting, plus, the black and white helped emphasize that ray of light beaming on her.
The settings for this image were: ISO 640, 1/2500, f/3.2. I could have lowered my ISO, but given that she was going from bright light to shadows in a fraction of a second, I chose to keep it up and manipulate my shutter speed instead.
The first image above was taken at 4:06 pm and the last image at 4:23 pm – so this day it took me 17 minutes of shooting off and on to make one image I was happy with (plus editing time). Not every day is as involved, but my point is that it can take time and multiple attempts to make it work. When you’re feeling that point of frustration like I was laying on the cold sidewalk, hang in just a few more minutes to see what you can get.
If you have any questions feel free to leave them in the comments. 🙂
POSTED IN:
Leave a Reply Cancel reply
HOME
ABOUT
the photos
INFORMATION
FOLLOW ON INSTAGRAM
@fiddleleafphoto
CONNECT
Lifestyle family & newborn photographer based in Edmonton, Alberta
kelly@fiddle-leaf.com
780-709-4204
BLOG
school photos
mentoring
CONTACT
JOIN THE NEWSLETTER
NEWSLETTER


be the first to comment